
ProColor ROES is our online ordering software. It’s FREE and easy to use. All of our products are available to be ordered through ProColor ROES.
ProColor ROES is a Java based interface that’s easy to use, making this popular front end software an efficient way for photographers to send their files to the lab. With ProColor ROES integrated into our already automated system, it’s now possible to submit and receive your pictures faster than ever.

Getting Started
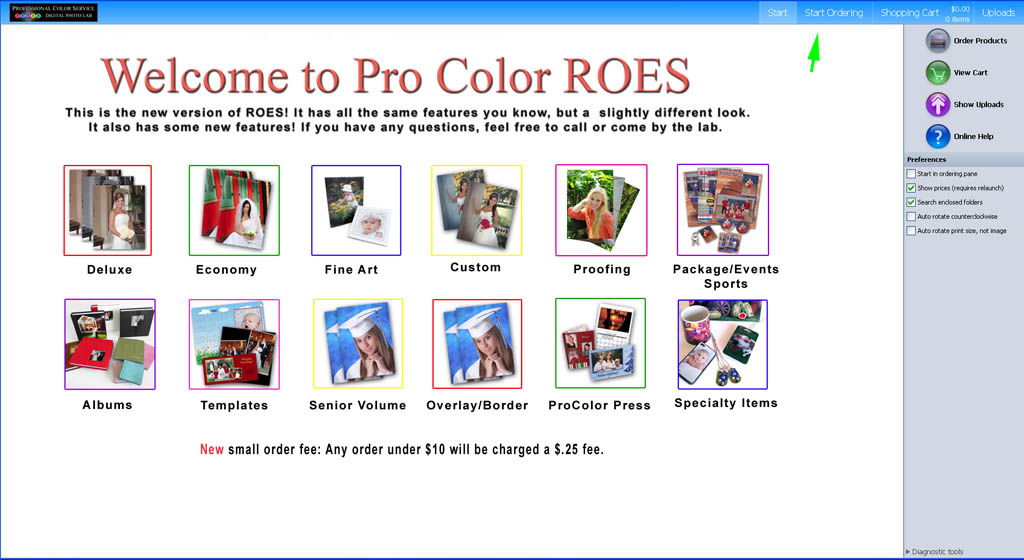
When ProColor ROES loads, the first window that comes up is the new splash screen. We will use this space to show you new products and features. Currently there’s many short cut links to go directly to most of our catalogs. Or you can click the “Start Ordering” button at the top right.
Program Sections
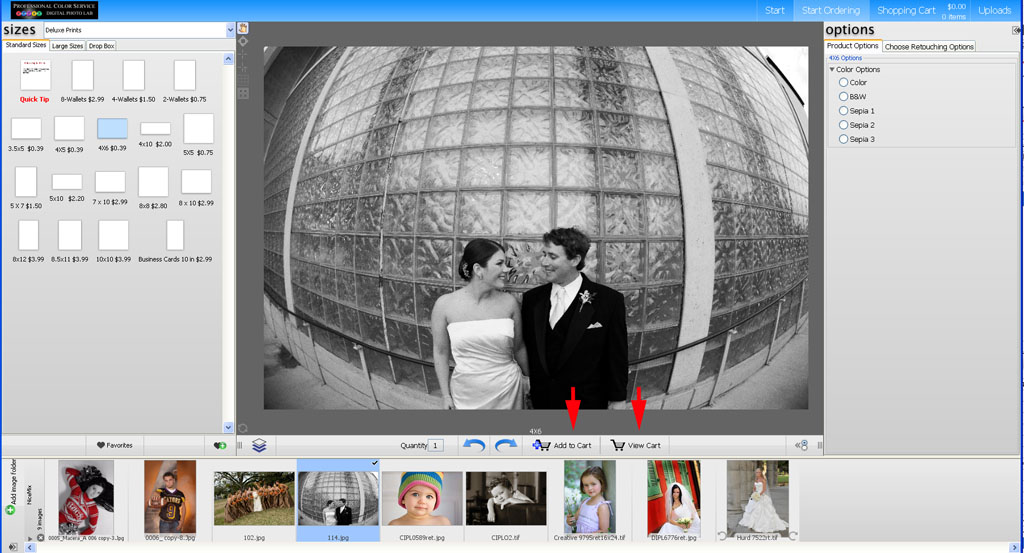
1. Sizes Catalog – This window is used to switch product catalogs, and choose what specifically you’d like to order. You can change the catalog with the drop down menu at the top, and then select a print size, template, or product. Once selected, this product will display in the main area.
2. Images Area – Getting pictures to load into ProColor ROES is very simple. Press the “Folder…” button in the images area, and then choose the folder on the hard drive where the digital files are stored. Click open and all the files within that folder will start loading into the empty area in the main palette. Remember, ProColor ROES will upload all files within the chosen folder and all files within any subfolder as well. TIP: if too many folders and images are opening, go to the main “start” screen and unclick the check box next to “search enclosed folders”.
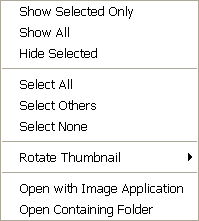
When the files have finished loading, the images can be reorganized, rotated, and hidden. Many options appear when you right click in the image area. Multiple files can be selected at the same time, as well. This is especially helpful when uploading proof orders or jobs where several images are printed on the same size paper. Just select all images at once and drag them over into the product, then each file will be added once to the order. The quantity of individual products can be changed on the Review Order screen.
3. Options Area – This is where additional options may be added to a product, such as mounting, color options, and many other options depending upon which catalog and product is chosen. For products such as press printed cards, this is where spread options and paper types are picked. Remember that not all option are chosen through this palette. Shipping and handling options are chosen on the review order, for example, so make sure to double check the order before submitting.
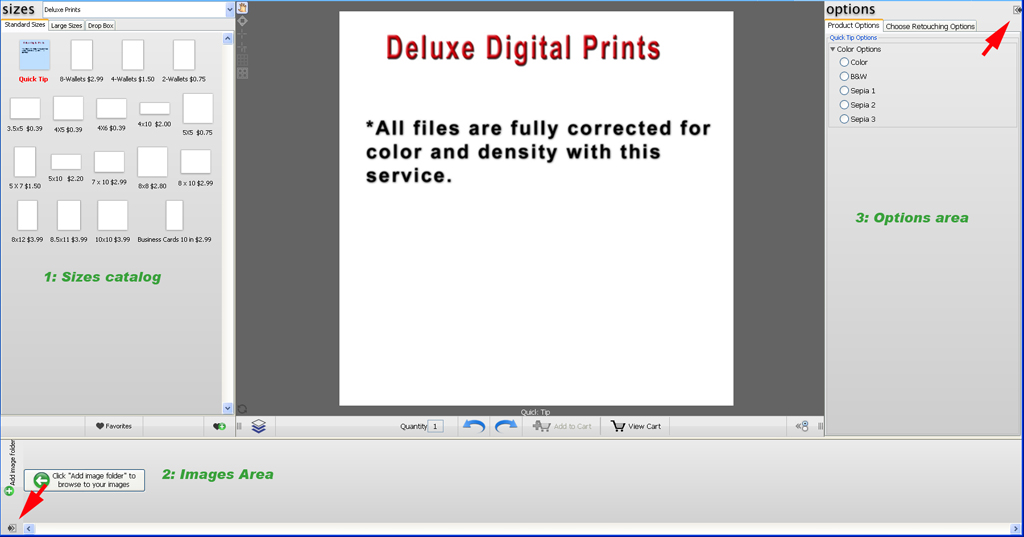
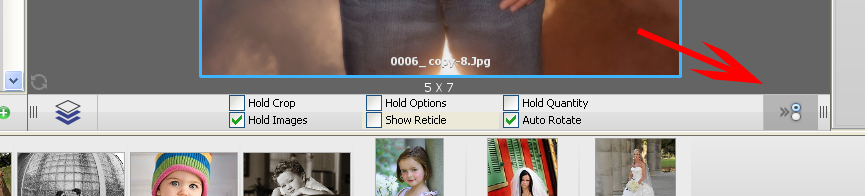
You can change the location of the images area and options area by clicking on the little arrows pointed out above. This will allow you to customize the workspace to your preferences.
When you have a product selected, choose an image from the image area and drag it into the product in the main window. The image will fill the product area and you will be able to see how it will crop.
When you have the image node selected, the editing drop down appears. Here are all of the image editing buttons. Use these buttons to zoom in and out, rotate the image and several other options (scroll over a button with the mouse and a description of what it does will pop up).
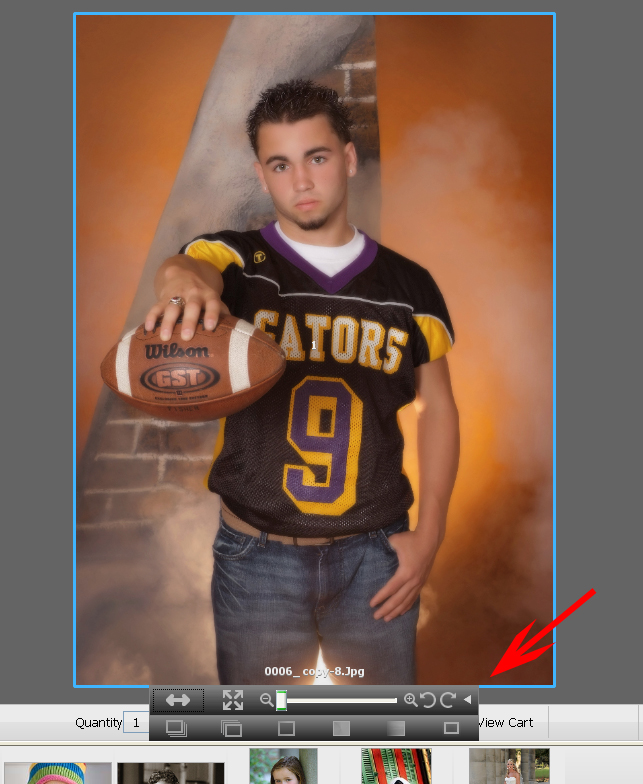
Additional options can be found by clicking the radio button to the right of the “add to cart” button.
Once you have the image set up in the product the way you would like, click “add to cart”. Continue adding items to your cart until you have completed your order.
Reviewing An Order
When all the products have been added to the order and it is ready to be submitted, press the “View Cart” button and you will be brought to your shopping cart. The order review screen contains an overview of each individual item that has been added, including a thumbnail picture, all the options that have been applied to the item, the amount ordered and each price adding up to the total. To edit one of the items, click on the edit button to the right of the thumbnail, and to delete it click on the delete button.
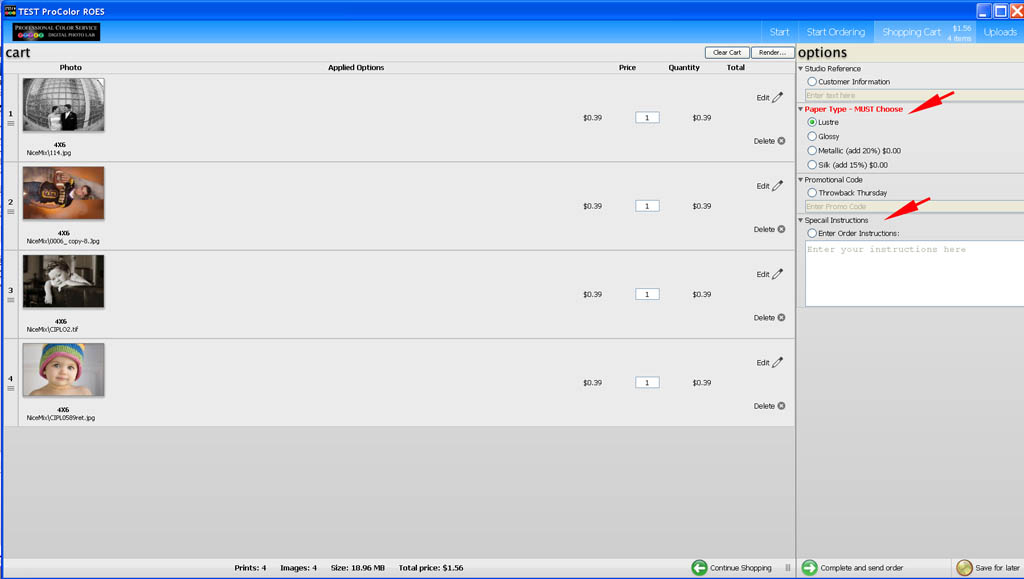
The right half of the window displays the order level options for the catalog. Give the job a studio reference if desired, choose a paper type, enter a promo code if you have one, and write any special instructions if needed. When this is all correctly filled out, give the order one last thorough review and press the “Complete and Send Order” button. You may also save this order for later.
Completing and Sending
After clicking on the complete order button, a window pops up for your customer information. Please fill this out in full. Your email address is important as this is where your order confirmation email will be sent. If you do not have a studio name please repeat your own name. please do NOT enter N/A, as this will stop your order from sending. Then choose your shipping method and enter any requested information. Next choose when and how you would like to send the order: sending via the Internet, saving for sending later, or burning the job onto a disc. Lastly, choose your payment method.
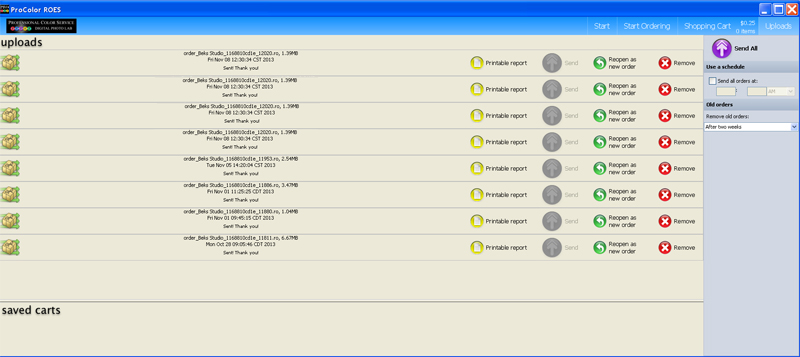
Once the job starts sending, be sure not to exit out of ProColor ROES before it is completely finished. If for some reason it gets closed and the order has not finished sending, click on the Uploads button at the top right in the main palette. If the order hasn’t completed, click on the send button next to it. Once the job has completed and the order has been written up, an email will be sent confirming that we have received the order.
What image file formats can I use with ROES?
ROES accepts .jpg and .tif files in 8 bit RGB format.
Does ROES work with both PCs and Macs?
Yes.
I ordered everything I needed, and pushed the complete order button. An error came up just before it should have sent.
Make sure there are no special characters in your customer information. (Or in any of your filenames, for that matter) i.e. ~ ` ^ : & * ( ) | ‘ ” , ? © [ ] < >
Make sure you do not have a firewall turned on that could be blocking the upload.
Roes won’t launch.
Make sure you don’t have a firewall blocking the program. Make sure you have the latest Java installed. If these don’t work, please call customer service for help.
My order stopped sending in the middle of an order.
Your Internet is probably down or not working at full capacity. Make sure you can get online successfully. If you’re on a laptop, try connecting directly to your modem or router.
I didn’t get an order confirmation?
Professional Color is open from 8-5 Monday through Friday. If we are currently closed when your order finishes sending, you will not get a confirmation email until we open and can process the order. If it’s during regular business hours, check your spam mail folder. Or you can call the lab for verification or receipt.
How do I tell you any special instructions or requests I have about an order?
In the order review window, there’s a button labeled “Instructions”. Click it and type the instructions into the window that appears.
I’m ordering an 8×10 but don’t want it to crop into my picture. What can I do?
Select the “crop or fit” button in the drop down to put white borders on two sides of the image.